Pages

Sunday, March 30, 2014

Blog Name Change and More

Hey there! I first want to make you all aware of my blog name change. It will now be My Creative Side, instead of Crazy Stamper. If you are a follower of me, I will still be in your reader, just under this new blog name! So I hope you all don't think I went anywhere!!
For some time now, I have been wanting something different out of my love for paper crafting. I debated on which road to go down, and I finally made my decision to join Stampin' Up!, and be a demonstrator. I already use many of their products, and am thrilled to narrow my spending to just one place. They pretty much have it all! So, all the projects that I will be sharing will use SU! product only. No more entering challenges, and trying to catch they eye of the popular. I am excited for this, and I want to thank my lovely upline Holly, for all her inspiration.
My goal is not to gain sales from anyone, this is starting off more as a hobby for me. The extra sales are just a bonus! :) I intend to post at least every other day, and would like to do a video tutorial once a week as well. So here is my first project share as an official Stampin' Up! demo!!
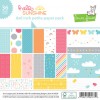
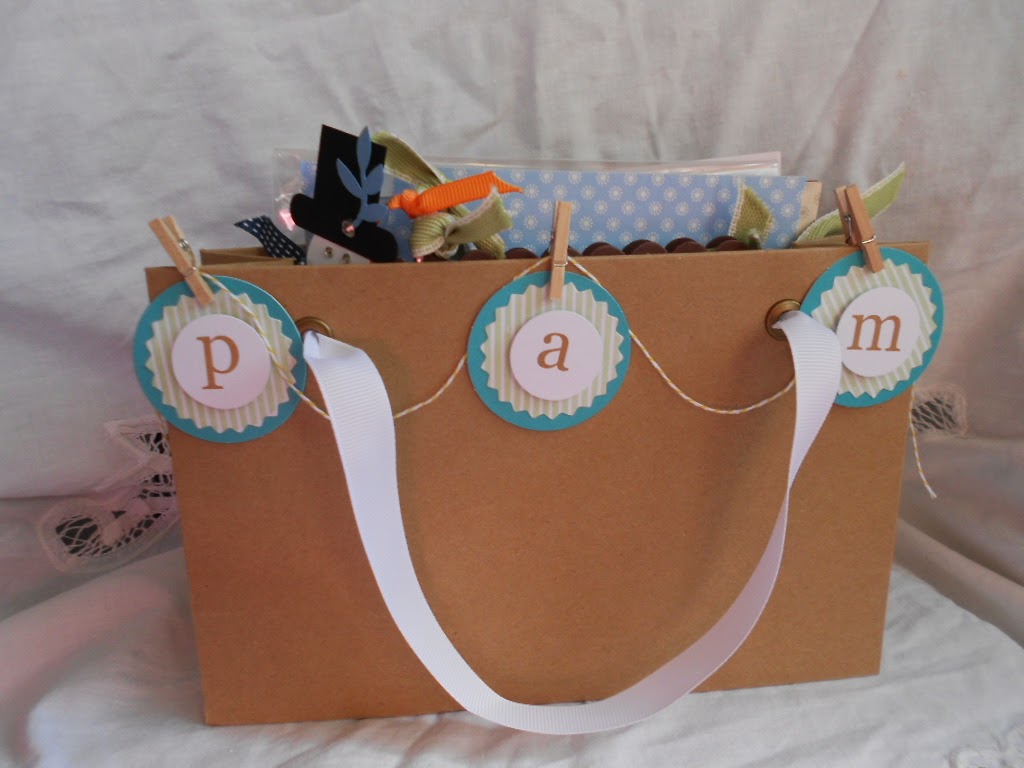
This card uses products from the main catalog, sale-a-bration, and the spring occasions catalog. Every post I will list at the bottom all the supplies I have used. I thank you for having a look, and hope I can inspire you!

Sweet Sorbet Designer Series Paper-#133521
Decorative Dots Embossing Folder-#133520
Petite Petals Punch-#133322
Extra Large Oval Punch-#119859
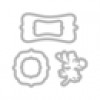
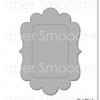
Artisan Label Punch-#130920
Pool Party cardstock-#122924
Pistachio Pudding cardstock-#131294
Baked Brown Sugar Ruffle Stretch Trim-#130022
Calypso Coral Baker's Twine-#125573
Rhinestone Basic Jewels-#119246
Jet Black Stazon ink-#101406
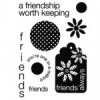
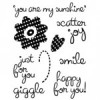
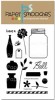
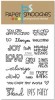
Happy Day clear mount stamp set-#130297


Tuesday, March 25, 2014

Cute as a Button

Today's card was inspired by the Lawnscaping challenge, which is Clean and Simple.
                                                       
I used the Lawn Fawn Sew Lovely stamp set, and stamped two buttons onto the Lawn Fawn Let's Polka paper pad. Fussy cut them out and used foam tape to attach them. A little washi tape for some grass and I drew on stems and leaves to make the buttons into flowers. The sentiment is from the same stamp set. I am just getting in under the wire for entering this challenge, as it ends tomorrow! As always, thank you for stopping by!

Friday, March 21, 2014

Feel the Joy

Hey there! I have a quick post to share as I'm heading out to work soon! :) Today's card uses my first ever purchased Unity Stamp Co stamps that I got in 2010. Feel the Joy, and I think Wispy Grass is the name of the other stamp. It is one of their wood mounted stamps, so you know it's older!! Anyway, I love these flowers stamped in purple, so that is what I used, and also used a green markers to go over all the stems before stamping. I would like to share this card on the Unity blog for their Friends with Flair day, and also brand new to me, CAS on Sunday, which theme is One Layer Wonder.
Thanks so much for stopping by!!!

The Stamping Boutique Challenge

Hello all! It's time for a new challenge at The Stamping Boutique!! This time we have a recipe for you to follow: Ribbon, 2 Buttons, and a Digi Image. And as a bonus twist use digi paper. Remember, you are not required to use a TSB image to play along, but if you do, you win 3 TSB digi images of your choice!

Ok, on to my card! I used a brand new image from The Stamping Boutique, so new it's not in the store yet! Guess I'm giving you a little sneak peek!! Anyway, I set out to color this with regular dye ink markers. The image's shapes are just too small for my alcohol markers, or shall I say 'my alcohol marker expertise' LOL I started with the wings, and colored them in solid, then moved onto her hair. I wanted some kind shadow/depth, so I used half circle strokes which left some white space, and I was happy with that. So I finished coloring in that manner. Please do check out the challenge blog and see what the other DT members have made! Thank you for stopping by today!
All other supplies are from Stampin Up, except the buttons, which are from Darcie.

Thursday, March 20, 2014

DIY Journal Cards Tutorial

Just wanted to share how I made my own journal card frames. Lots of companies have their own journal card dies, and I haven't talked myself into buying any yet, so I set out to make my own. The card above is made with my first try at a journal card frame. Below is a different smaller one that I will show, but it's made the same way.
I started with a piece of card stock 3"x 4" I put it into my paper trimmer and measured over 1/8" and drew a line with a pencil, and did this on all four sides.
Then I chose a die, this one is a Sizzix/Hero Arts frame. I let the die hang off the edge of the card, and lined up my cutting plate to my pencil line. This way it doesn't cut off the whole die cut. Selective die cutting.
Here is what it looks like after the selective die cutting. The one end is still attached to the journal frame.
Next, get out a craft knife and a straight edge. Cut on the pencil lines, leaving the corners, and cutting around the die cut shape.
Take an eraser, and gently erase all the pencil lines. This one is now ready to use!
Here is what the one on the card looked like before. I attached it to a piece of patterned paper that I stamped on. This one also has a 'stitched' faux border that I made using a sewing tracing wheel. Works like a charm! I hope this tutorial helps if you decide on trying some out! Thank you for having a look!


Tuesday, March 18, 2014

One for the Boys

My card today is one for the boys in mind. I don't make a lot of boy/guy themed cards, so this was fun to put together. My inspiration came from the Paper Smooches SPARKS challenge which has an Anything Goes theme.

I laid out my Paper Smooches stamps in front of me, and was looking at the different shapes and sentiments that I could pull together into a card. The Crystal Clear stamp set has some solid image vases in it, and I thought the tall one turned upside down looked like a baseball bat, so I went with it! I stamped it and fussy cut it out. Now I needed a ball. The Knick Knack set has a marble stamp, so I used that, and added some stitching to it with the fine tip of a red Stampin Up marker to make it look more like a baseball. The sentiment comes from two stamp sets, Crystal Clear and Word Salad, and is stamped onto the inside die cut of the PS Duo One frame die. Even the sign post is a stamp, it's the lid from the Crystal Clear set!! Now I needed some grass, so I die cut two pieces from the PS Borders One die set. So that's how my card came together, and I think it's a really cute boy card for any occasion! Thanks so much for stopping by!


Sunday, March 16, 2014

My Blogging and Stamping Journey

Hello, I've been wanting to share my blogging and crafting journey with you, so here it is! I have lots of pictures and such to share, so I hope you'll stick with me!:) I started my blog in September of 2010. The first challenge I ever entered was Linda Ledbetter's Compendium of Curiosities. She went through Tim Holtz's whole first book with a challenge for each technique that is in there. Here is my second entry for those challenges:

The challenge was the Agate Background technique. I made this small book. While I like the background I made, the rest is much to be desired!! lol I did take this book with me last year to the Memories Expo, and had Mario sign it!!
Besides doing grungy projects, I also liked pretty things, like this card:

These are peel off stickers that I colored with gel pens. And these stickers are becoming popular again! I still have some left in my stash!!
One thing I still do on my cards is stitching, here is one I did in Nov. 2010

Then I really ventured into blog land with a video tutorial!! Whoa! LOL
Then I started selling Ippity stamps, which were a part of Unity. Here are a couple projects I made for workshops that I used to have in my home:

Here is another Unity Stamp co. creation moving into 2011:

I started my first coloring with images using water color pencils. Here is my very first card:


I think this might be my first picture tutorial. It is for a basket:

And I actually DID make some of Tim Holtz's 12 tags of Christmas!!! Here is one from 2011:

In 2012 I was on a Design Team for Two Sister's Challenge blog. We used digi stamps only. Here is the first time I used Promarkers:

And yes, I actually do scrapbook!! I just hardly ever share any pages. Here is one without any pictures yet:

Here is a fun fold card, and the very sweet Tilda! So wish I had more of these images!!

From this time onto now, my style really hasn't changed much. I don't do much of the grunge thing anymore. It just wasn't my style I guess. But looking back to my posts, and knowing my faithful followers since the very beginning, I am still happy to be here sharing what I love to do. I don't seem to get the comments that I used to, unless I'm entered into a challenge somewhere. So, for those of you that have been with me for the last 4 years, and always leaving me comments, I THANK YOU from the bottom of my heart! You are my friends, if even in cyber space! That goes out to Emily, Netty, Yvonne, Cheryl, and Terry. Thanks Girls!!! And anyone else that happens to come across this post, Thank You for stopping by!!


Saturday, March 15, 2014

My Stampin' Up! Demo

I wanted to share the sweetest gifts my Stampin Up demo, Holly, sent me this month! I am in her monthly Stampin Up club, and each month she sends a completed project with instructions as well. This month's project is the cute snowman test tube treat container. How fun!!
This is all the goodies that were in this cute bag!! Along with the club project, she gave gifts for being in her club, the bag, ink, papers, and sweetest mini album!! The cards and ribbons she gave me for placing a large order. It is Sale-a-Bration time at Stampin' Up! so of course I had to get me some free stuff!! :) lol
But, like the link to her site which has been on my sidebar says, she really is the BEST Stampin' Up! demo I've ever had!! Love her! And maybe one day I'll get to actually meet her, you see, she lives in Minnesota!! And I live in Ohio! But, I enjoy getting to chat with her online, visiting her blog, youtube channel, the whole bit! Thank you for letting me share my sweet gifts with you, and if you would like to check out Stampin Up's deals right now, click on her link! Have a good night!


Friday, March 14, 2014

Cute Balloons

Hey, and happy Friday! Today I have a cute balloon shaped card to share! I just recently got this cute Party Animal stamp from Avery Elle. I think it's the cutest!! Avery Elle now has a challenge blog, so I thought I would join in this time for their Embellishments Challenge.
Challenge 2
I cut out two ovals and stamped the star from this set randomly in yellow ink on the front of the balloon card. I stamped the animal balloon, and die cut it out and popped it up with foam tape. I paper punched another piece of yellow card with a scallop punch, then cut it out and attached it to the bottom to act as the tied end. I wrapped some twine around it, and attached the sentiment from this stamp set onto it. I embellished the balloon with some sequins. Here is the inside, with another sentiment that is in this stamp set:
So fun!! Thank you for stopping by for a look!!